DIY Raised Beds - Sunday April 14th 2019
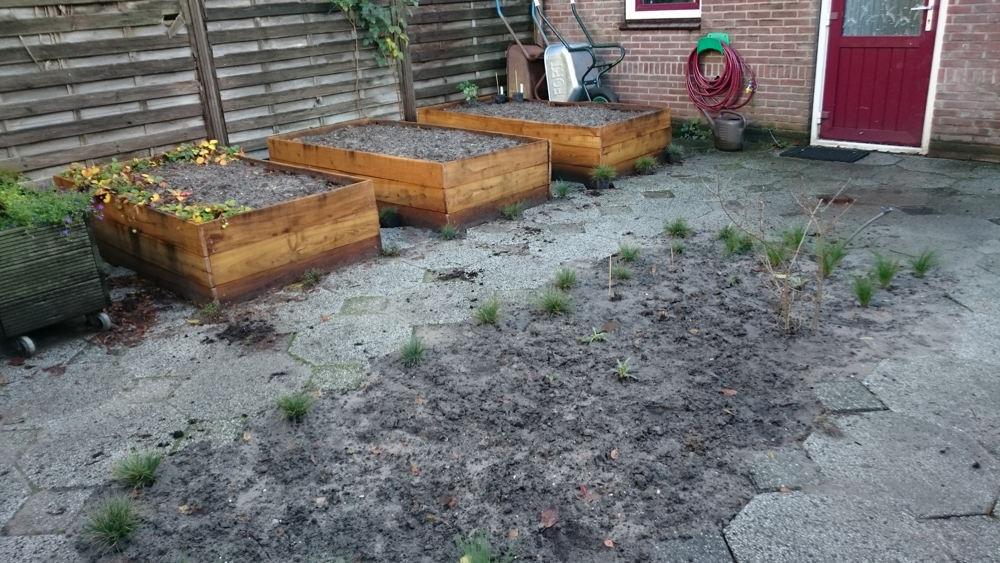
Last year around this time we bought our first house, with an actual garden. The garden is large for Dutch standards, but is mostly tiled over - in multiple different styles of tiles including some parts that are covered by loose wooden patio boards. Like most things in this property, the garden has been neglected and was littered with junk from the previous owners (like windows and busted fences and large piles of various kitchen tiles). I want to try and turn it into a lush garden, even though I have fairly little gardening experience. My first goal was to create raised beds in between our outbuilding and the kitchen and backdoor of our house. In the raised beds I want to grow herbs, fruit and vegetables, visible from our kitchen window.
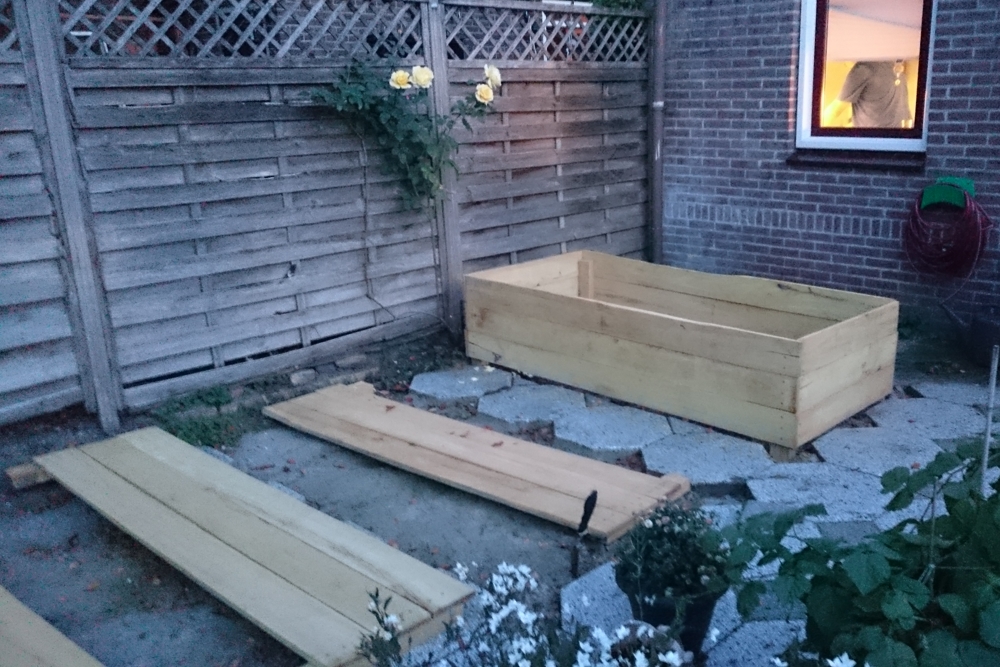
I decided to make my own to have complete control over the materials and size and to not spend large amounts of money on having them made. I researched possible types of wood online, and in the end decided on Acacia/Robinia wood. It is a hardwood which is very durable and can handle wet conditions and insects especially well, which is perfect for wood which has to contain (wet) soil all the time. Furthermore, because it is durable and sourced in Europe it is relatively ecofriendly type of hardwood. Finally, it has these good properties without needing to be impregnated or painted, which is something I strongly prefer because we are planning to eat what we grow in the raised beds. I ordered enough planks and beams to make three 2x1 meter raised beds, each about 50 cm high. This is the design I made for the raised beds:
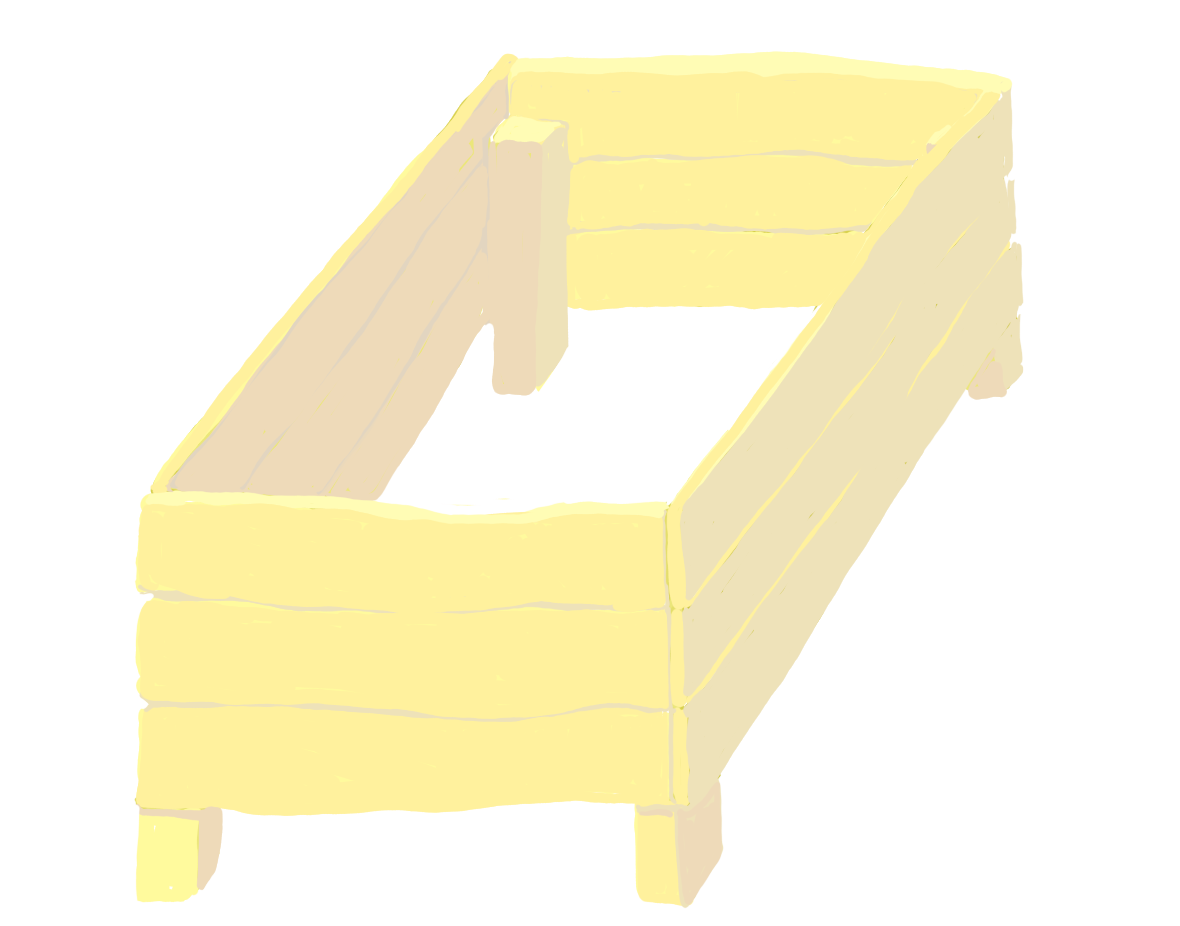
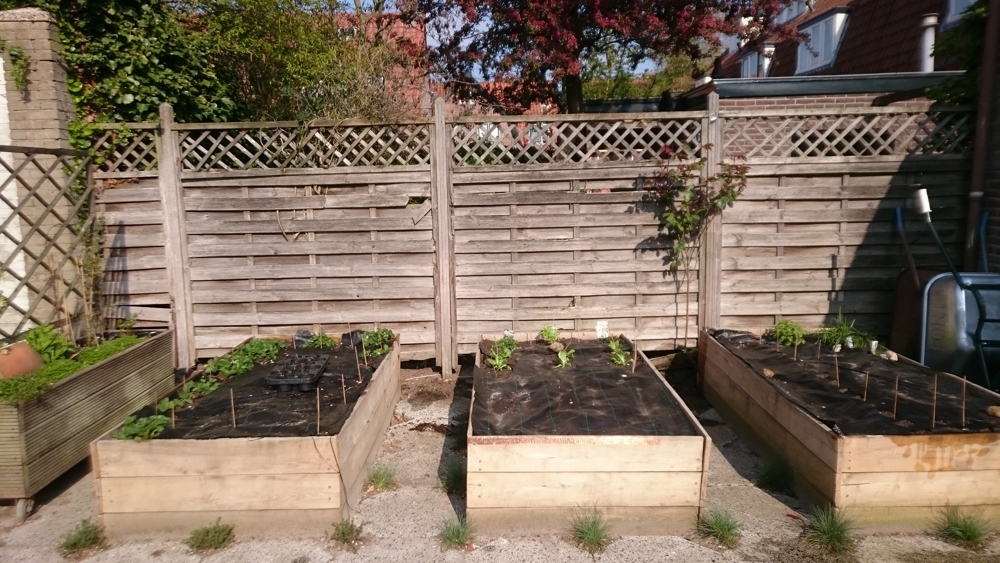
The beams stick out at the bottom such that they can be dug into the ground, providing extra sturdiness, as stakes. The raised beds have an open bottom for good drainage and such that good things like earthworms can come in. Some people choose to put chicken wire or finer wire at the bottom to keep out pests, so that is an option too. I have not lined the bottom or the wooden sides with anything, because I want to contaminate the soil the least as possible with metals, plastics and the like. It also shouldn't be necessary given my choice of wood. In the end however I did cover the beds with anti-root foil, which is normally to prevent weeds, but I use it mostly against cats. Cats look at these raised beds and consider them wonderful luxery litterboxes if left uncovered...
Before I started making the beds I removed a lot of large gravel tiles - I made sure my raised beds would fit exactly in the gap left by the tiles and I have one row of tiles in between each of the beds for easy access. In the following I'll describe the steps to take to make the beds. Steps 1-2 can be done on your own, 3-4 is really better to do with two persons where one can hold the wood in place while the other puts in the screws.
- Measure and saw all the planks and stakes such that they fit your design. For one bed I sawed six planks of 200 cm long (approximately 15 to 20 cm high), six planks of 100 cm long, and 4 stakes of about 55 cm tall (rectangular 9x5 cm stakes).
-
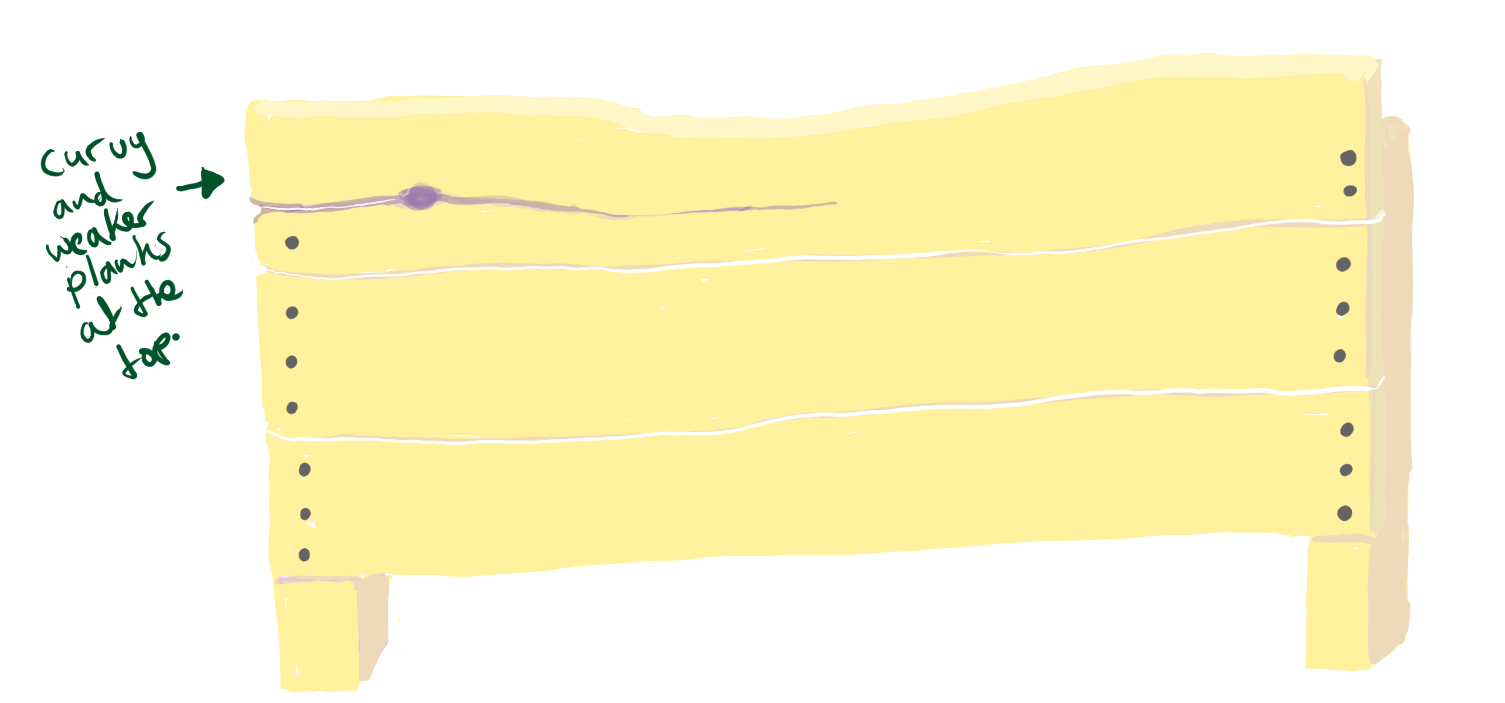
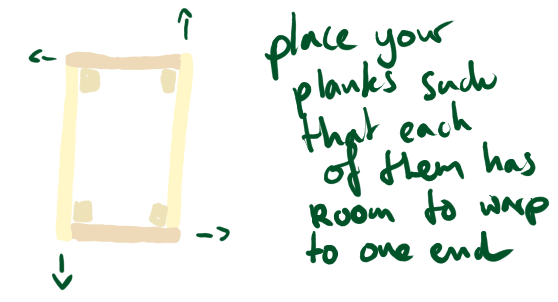 Decide how to stack together the planks for the long sides of the beds. If you have planks that aren't nice and straight, use them as the top planks for your beds, skewed side up. Weaker planks because of cracks and the like might also be best to put on top where they carry the least weight and are easiest to replace when that becomes necessary at some point. Think ahead on how to arrange your wooden planks such that the wood can work when you've put the beds together (see picture), and position the stakes on the planks accordingly - on one side of the planks you should put the stake right at the edge of the planks, on the other side you should leave room between the stake and the end of the planks equal to the thickness of your planks.
 Attach the stakes to the long planks, stakes sticking out underneath 10-20 cm. In effect you are making two little fences, in my case two meters wide. Attach them with stainless steel screws, if using hardwood predrill holes. Use a countersink drill bit to scrape away a bit of wood around the drilled hole, such that the screw heads end up level with the woods once screwed in.
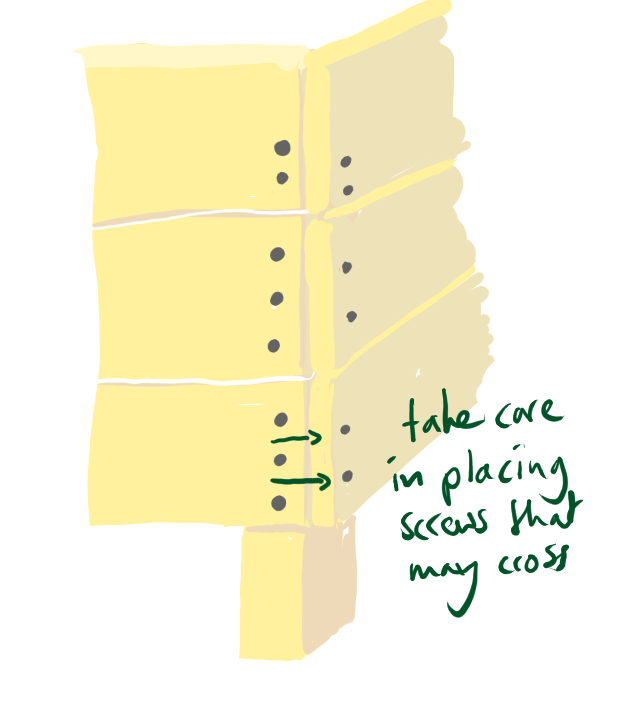
- Attach the shorter planks for the front of the bed to the edges of the two stakes. Be sure to place them such that all planks have room to work as mentioned before. Also take care that you don't put your screws in such that they hit screws you put in the stakes from the longer planks.
- Repeat step four for the back side of the bed.
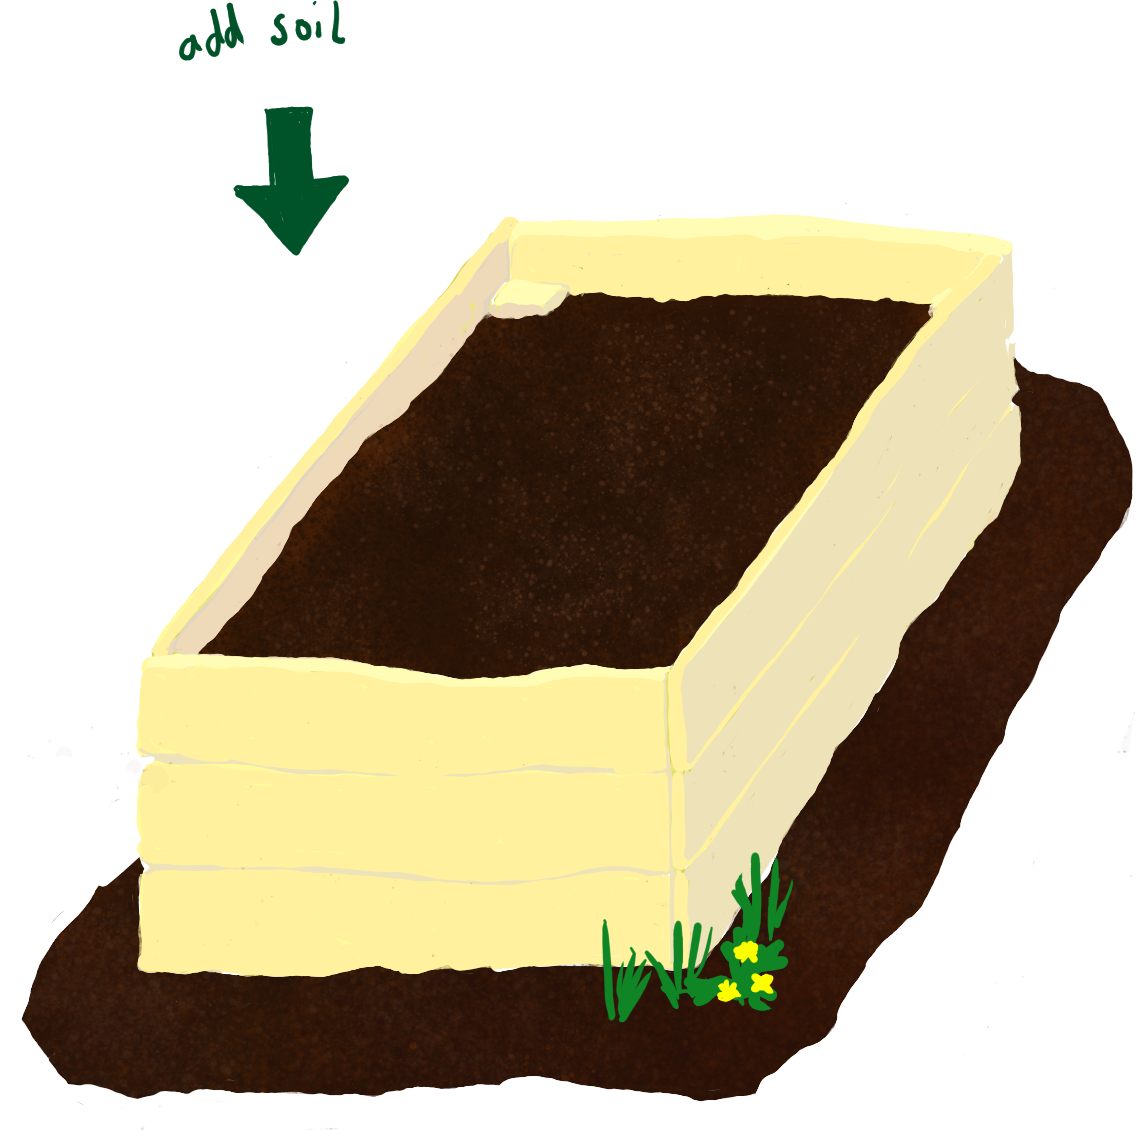
- Place the beds where you want them. Dig in the stakes. Then just fill the positioned raised beds with soil.
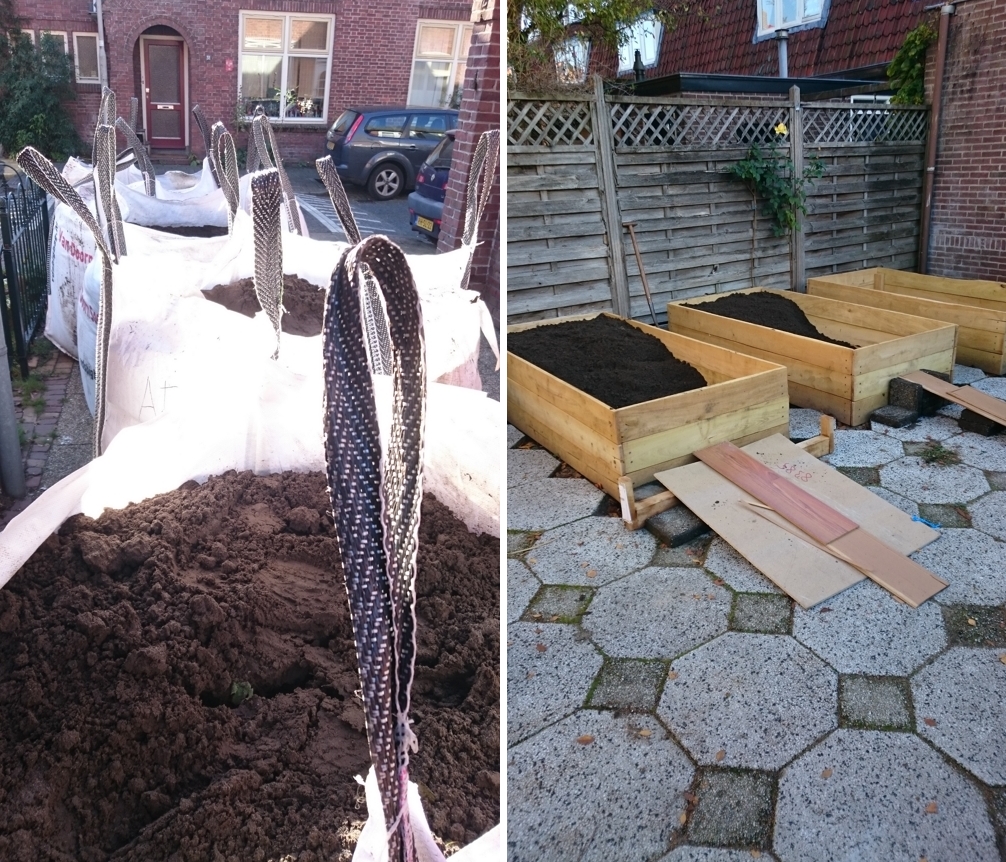
Step 6 says just fill them with soil, but you need a lot of soil to fill these things. I ordered four large big bags full of produce grade soil that were craned onto my front porch. Unfortunately we couldn't place them in the backyard, so we had to dig out all the soil with spades into wheelbarrows, wheel them to the back yard and tip them over, loading the soil into the raised beds, via slopes we built with junk left over from the remodeling of our house. It took a good 8-12 hours of hard labor with 2-3 people to fill the beds and to move the remaining soil out of our driveway into the backyard (I use the remaining soil to make borders in other areas of the garden). But, as we say in Dutch: "Dan heb je ook wat!" ("Then you have something!").
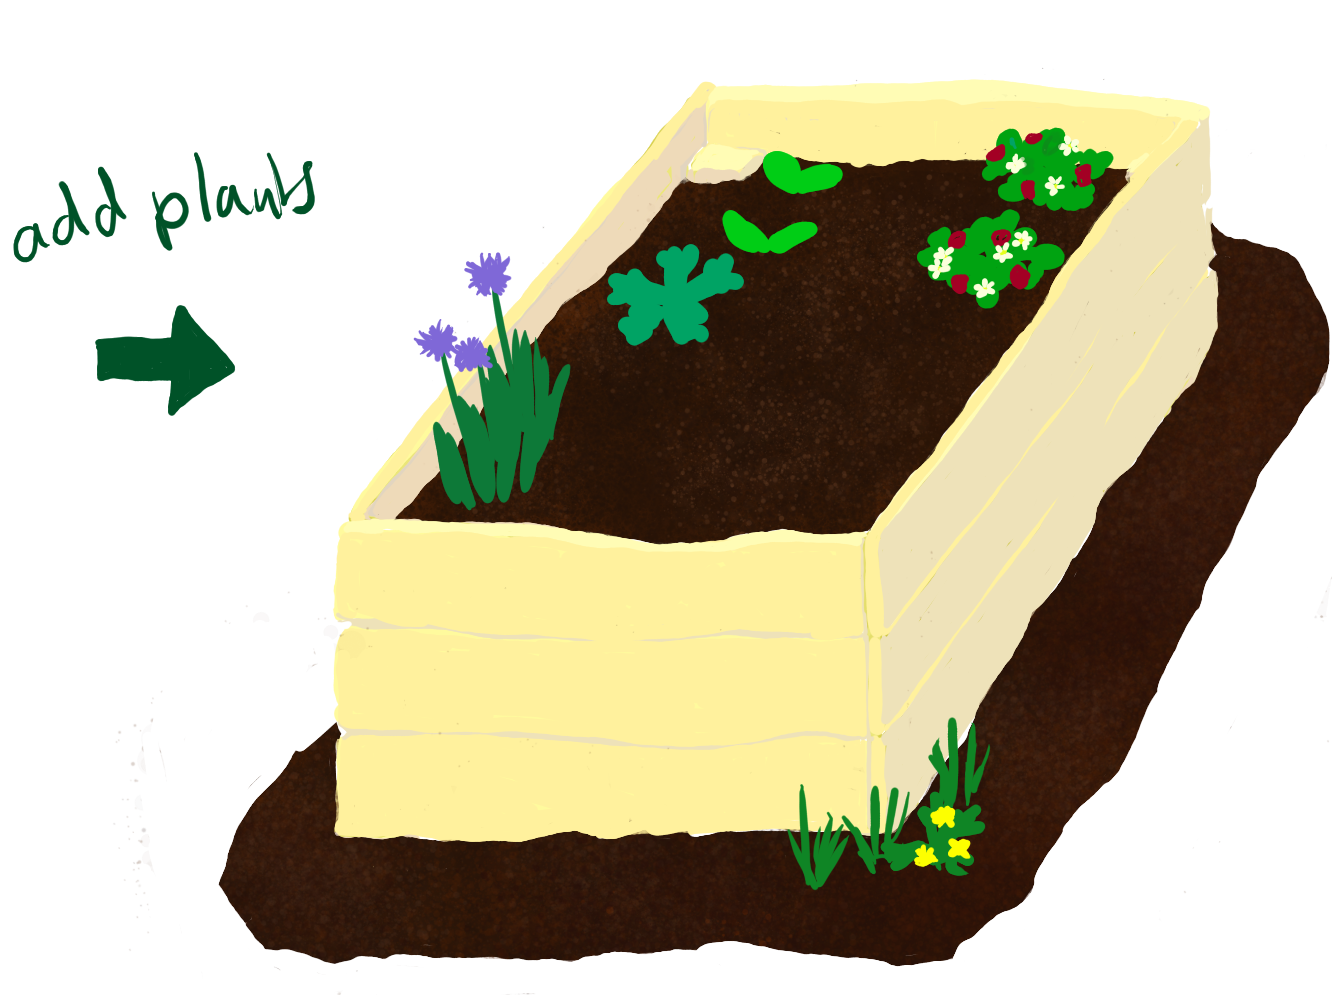
I'm now gradually filling the raised beds with various herbs, fruit and vegetables, and around this time it is starting to look somewhat lively. Overall, it was a lot of work designing, making, and filling the beds, but very rewarding.